A classic braided wrap with a colourful scarf and sparkly sash!


A classic braided wrap with a colourful scarf and sparkly sash!

This is my new favourite wrap! And it’s actually much easier than it looks. Do you think a tutorial is needed?


For those of you asking for simpler wraps… here you go! I decided to try a lower bun for a change… personally didn’t feel like it suited my face well, but still a nice experiment! Happy Sunday 🙂


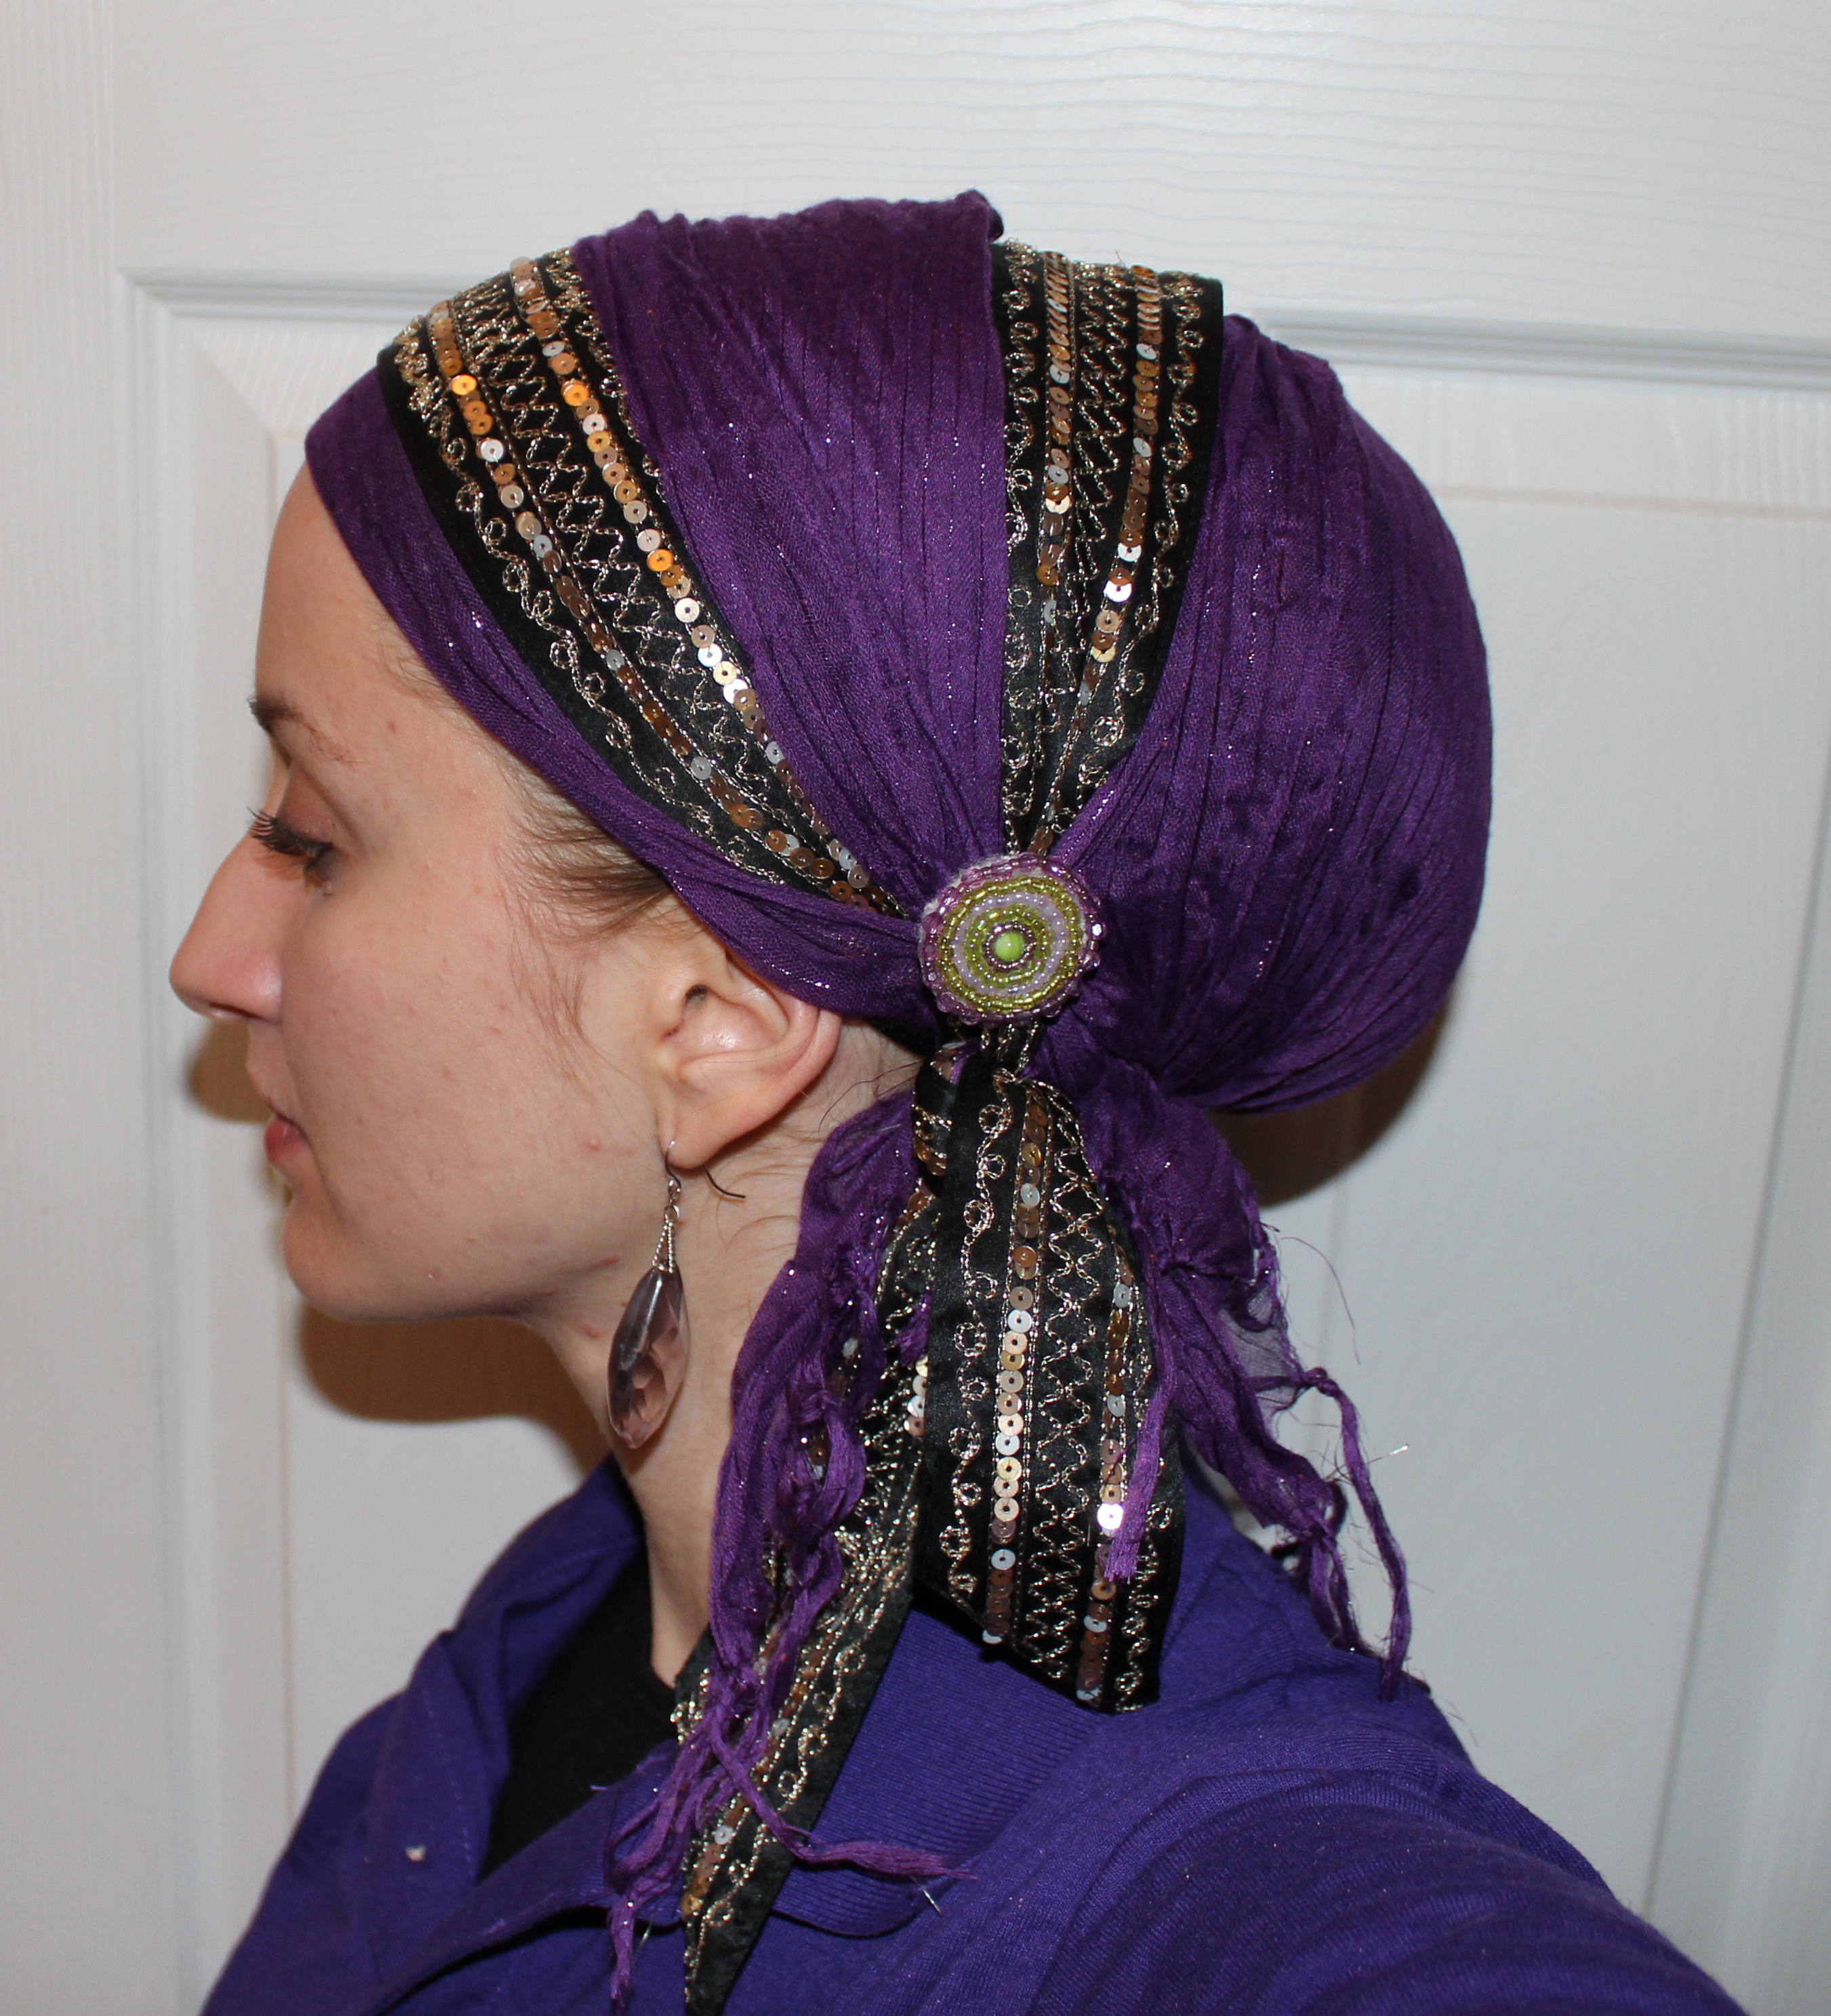
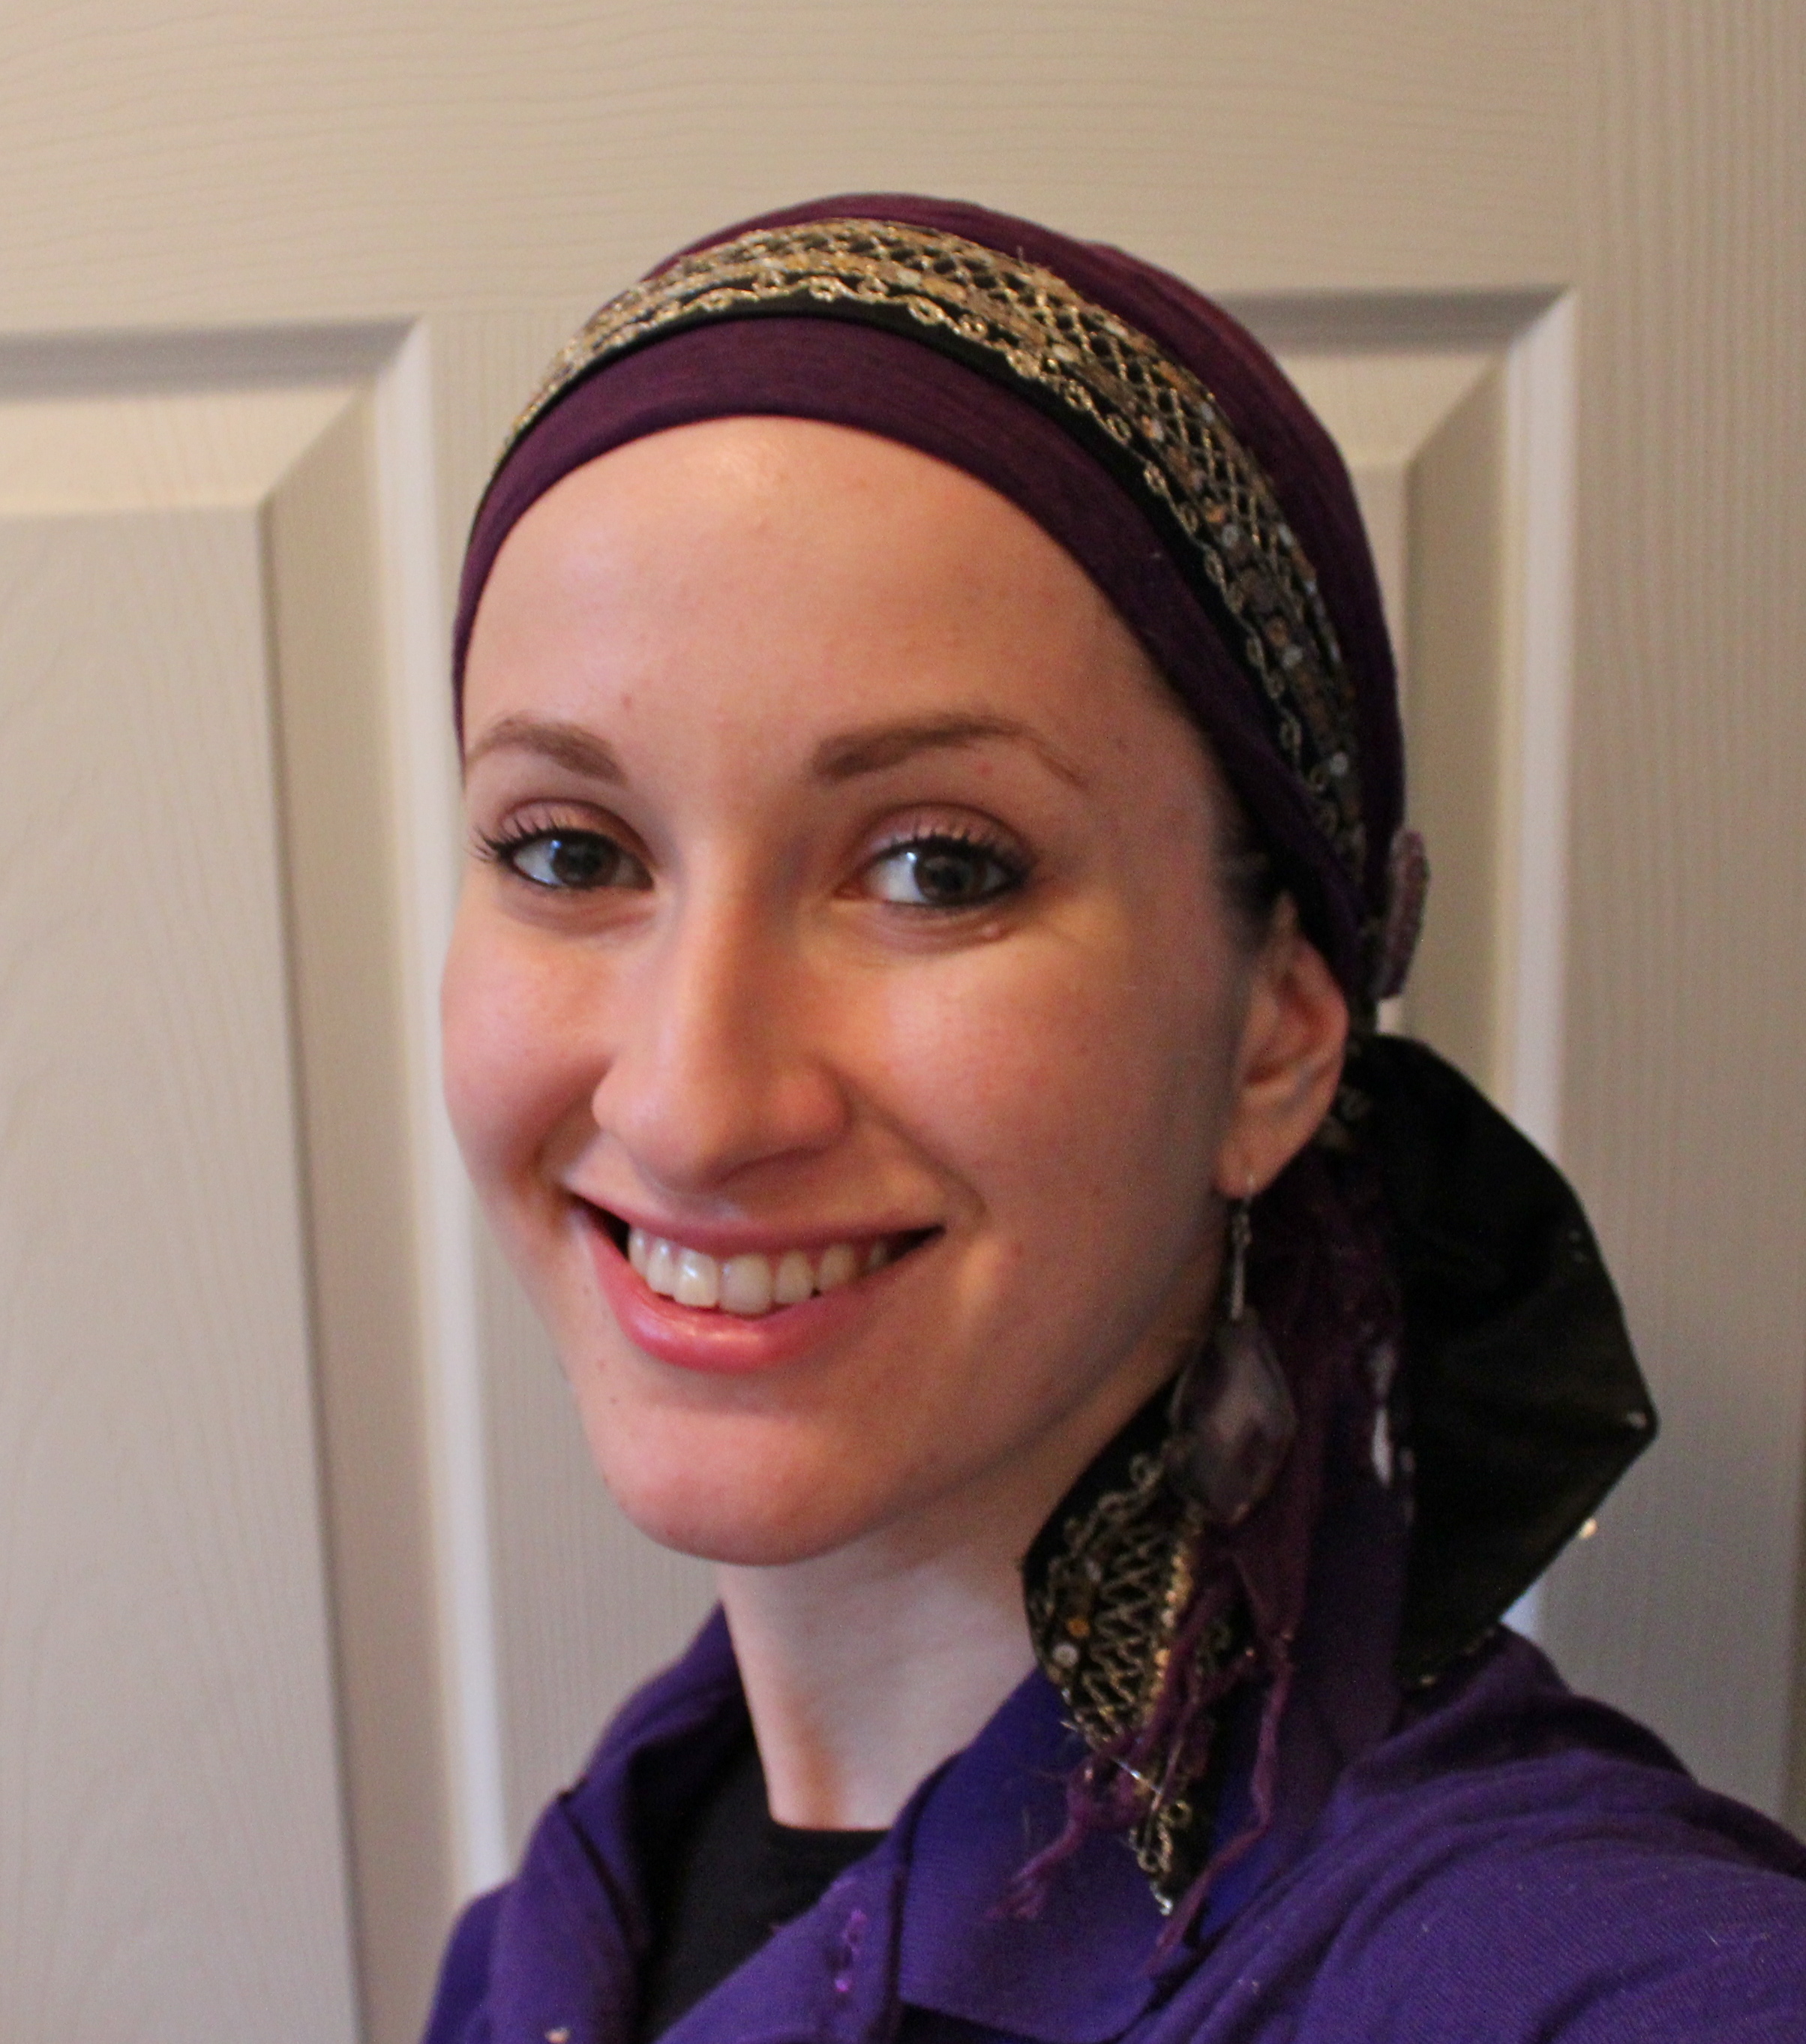
The youth orchestra that I help coach had a big concert yesterday, and the kids were wearing black and purple. I created a head wrap to match!


Here is a creative variation on the double twist wrap that was featured last week. One of our readers (thank you Lauren!) shared a photo of her with a TRIPLE twist and I just had to try it. You can do it easily by following the video but instead, you just wrap one of the ends around your head instead of the two shown (this leaves three ends hanging for the triple twist), or conversely you could use three scarves if you want to be super intricate! I was very happy with the results!


(Click on the photos to see the larger images gallery.)

This stretch scarf matched my turquoise skirt beautifully! You can find a detailed tutorial on how to do this wrap (and many variations) here.


My favourite colour combination! When wrapping these two scarves, I was left with the brown ends being much longer than the blue/brown ones. To help even them out, I held the blue/brown ones straight, and then criss-crossed the brown ones around it, making the ends even at the bottom! To fasten, I just wound one of the brown ends around the bottom and tied. The brown and gold antique pin tied the wrap together perfectly. Enjoy!


(Scroll down to the comments section of this post to see a very interesting discussion about hair covering and religion.)
I am very happy with the results of this wrap! This particular style is a Regal Wrap with Hanging Tails, except instead of using the pin to secure the ends, I used the purple tails to create a side ponytail.


It was also nice to discover that I had earrings with red, purple and turquoise in them… so my nails actually matched (somewhat)!

It was requested that I make some posts of wraps for ladies that might not yet have the time/coordination to put on 3+ scarves, as well as headbands and everything else. Here is a simple Royal Twist that I tied when I was pressed for time!


I wore a skirt for the last day of Passover (a holiday in which we celebrate the splitting of the sea) that was mostly neutral colours with a touch of army green. It took a while for me to figure out what to wear on my head to match – usually I match my outfit to my hair covering – but I was very happy with the result!


You can check out a tutorial on how to do this wrap here.

I bought this scarf (I think it is actually half of a shawl that must have been damaged) in the East Indian area of Chicago a while back, but never wore it because I couldn’t decide whether or not it was casual or formal. Well, I finally pulled it out, and here is the result! The shape is almost a square (aka a very wide rectangle) so I just folded the front in to make it fit my head, and tied one knot at the side. The headband and contrasting colour at the bottom made it so nothing else was needed!


For those of you celebrating religious holidays, I hope you are having a joyous and meaningful time, and to everyone else, hope you are having a lovely weekend!


I am still experimenting and perfecting this new wrap! I think it’s now mastered, so you can look forward to a video on how to do it soon! This one was done with two cotton scarves instead of the shimmery gold and yellow ones from before. And my beaded bobby pin was the perfect contrasting accessory 🙂

I am really starting to look forward to opening my mail box. There are so many artistic ladies on this site! My friend, Stephanie, who is a Lady Wrap Star (see her post here) is also starting to make her own scarf wrapping accessories! They are gorgeous, and work very well because they are specifically made for those of us that cover with scarves. I am loving this pretty gift of a yellow flower clip/headband – I can’t seem to stop wearing it!

I hope that one day I can start being crafty like some of the ladies on here… but for now, I can just get excited about opening my mail box! Here is the flower headband/clip on a different wrap:


Stephanie is also making hair clip holders (basically, a pretty ribbon – or two – attached to a loop that can be hung on your wall) and sent me one. It holds my flower clips beautifully and is very practical for storage. You can see it on the left side of this photo. (On the right is how I store my pins.) Yay no more crushed flowers!

I am not sure, but I do think she is selling her creations and since everything is made by hand, will do special requests. I will let her clarify that! Thank you Stephanie!
(and FYI – she did not ask me to make this post… but how could I not? ❤ )

In keeping with my discovery that I can indeed wear all kinds of yellow-inspired hues on my head, here is today’s wrap!


This simple bun was exactly what was needed for my day today!

